Masks: Show Only the Part of a Layer You Want
How mask layers work in Brinimate: the rule for what clips what, why you can paint a mask with the brush, and three classic effects built with them.
LuisOA
Brinimate Team
Mask Layers: the Window Your Art Shows Through
A mask defines where a layer is visible. Whatever you draw on the mask layer is the window; anything outside that window disappears.
The rule, in one sentence
A mask layer clips the drawing layers directly below it, stopping at the next mask or at any layer that isn’t a drawing layer.
There’s no manual layer “linking” like in Adobe Animate: put the mask on top, and the layers below get clipped. The Timeline confirms it with a mask badge on every affected layer.
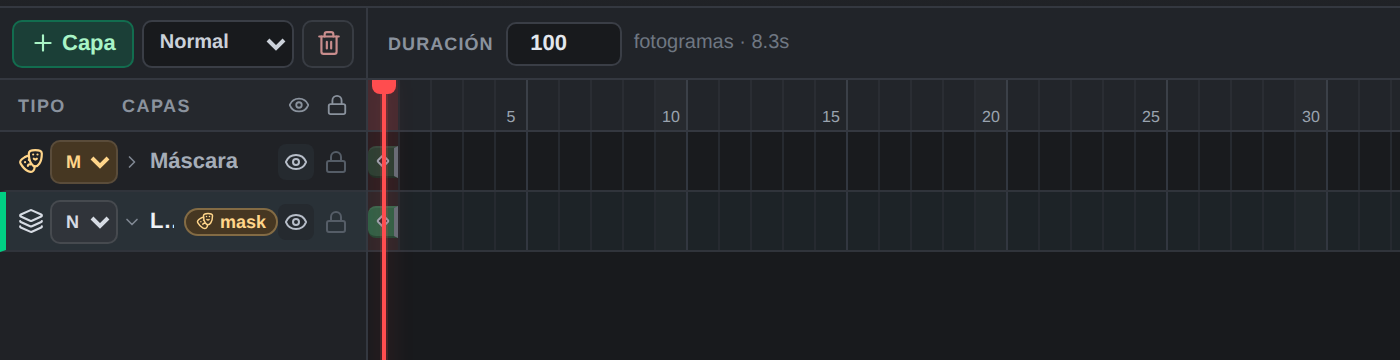 The “mask” badge appears on layers being clipped. No badge means that layer is outside the mask’s scope.
Step by step
- Draw your content on a normal layer (an imported photo, a painted gradient, big text).
- In the Timeline, press + Layer and choose the Mask type. It’s created above.
- With the mask layer active, draw the areas you want visible: circles, rectangles, brush strokes, anything.
- Select the content layer again. You’ll see the clipped result.
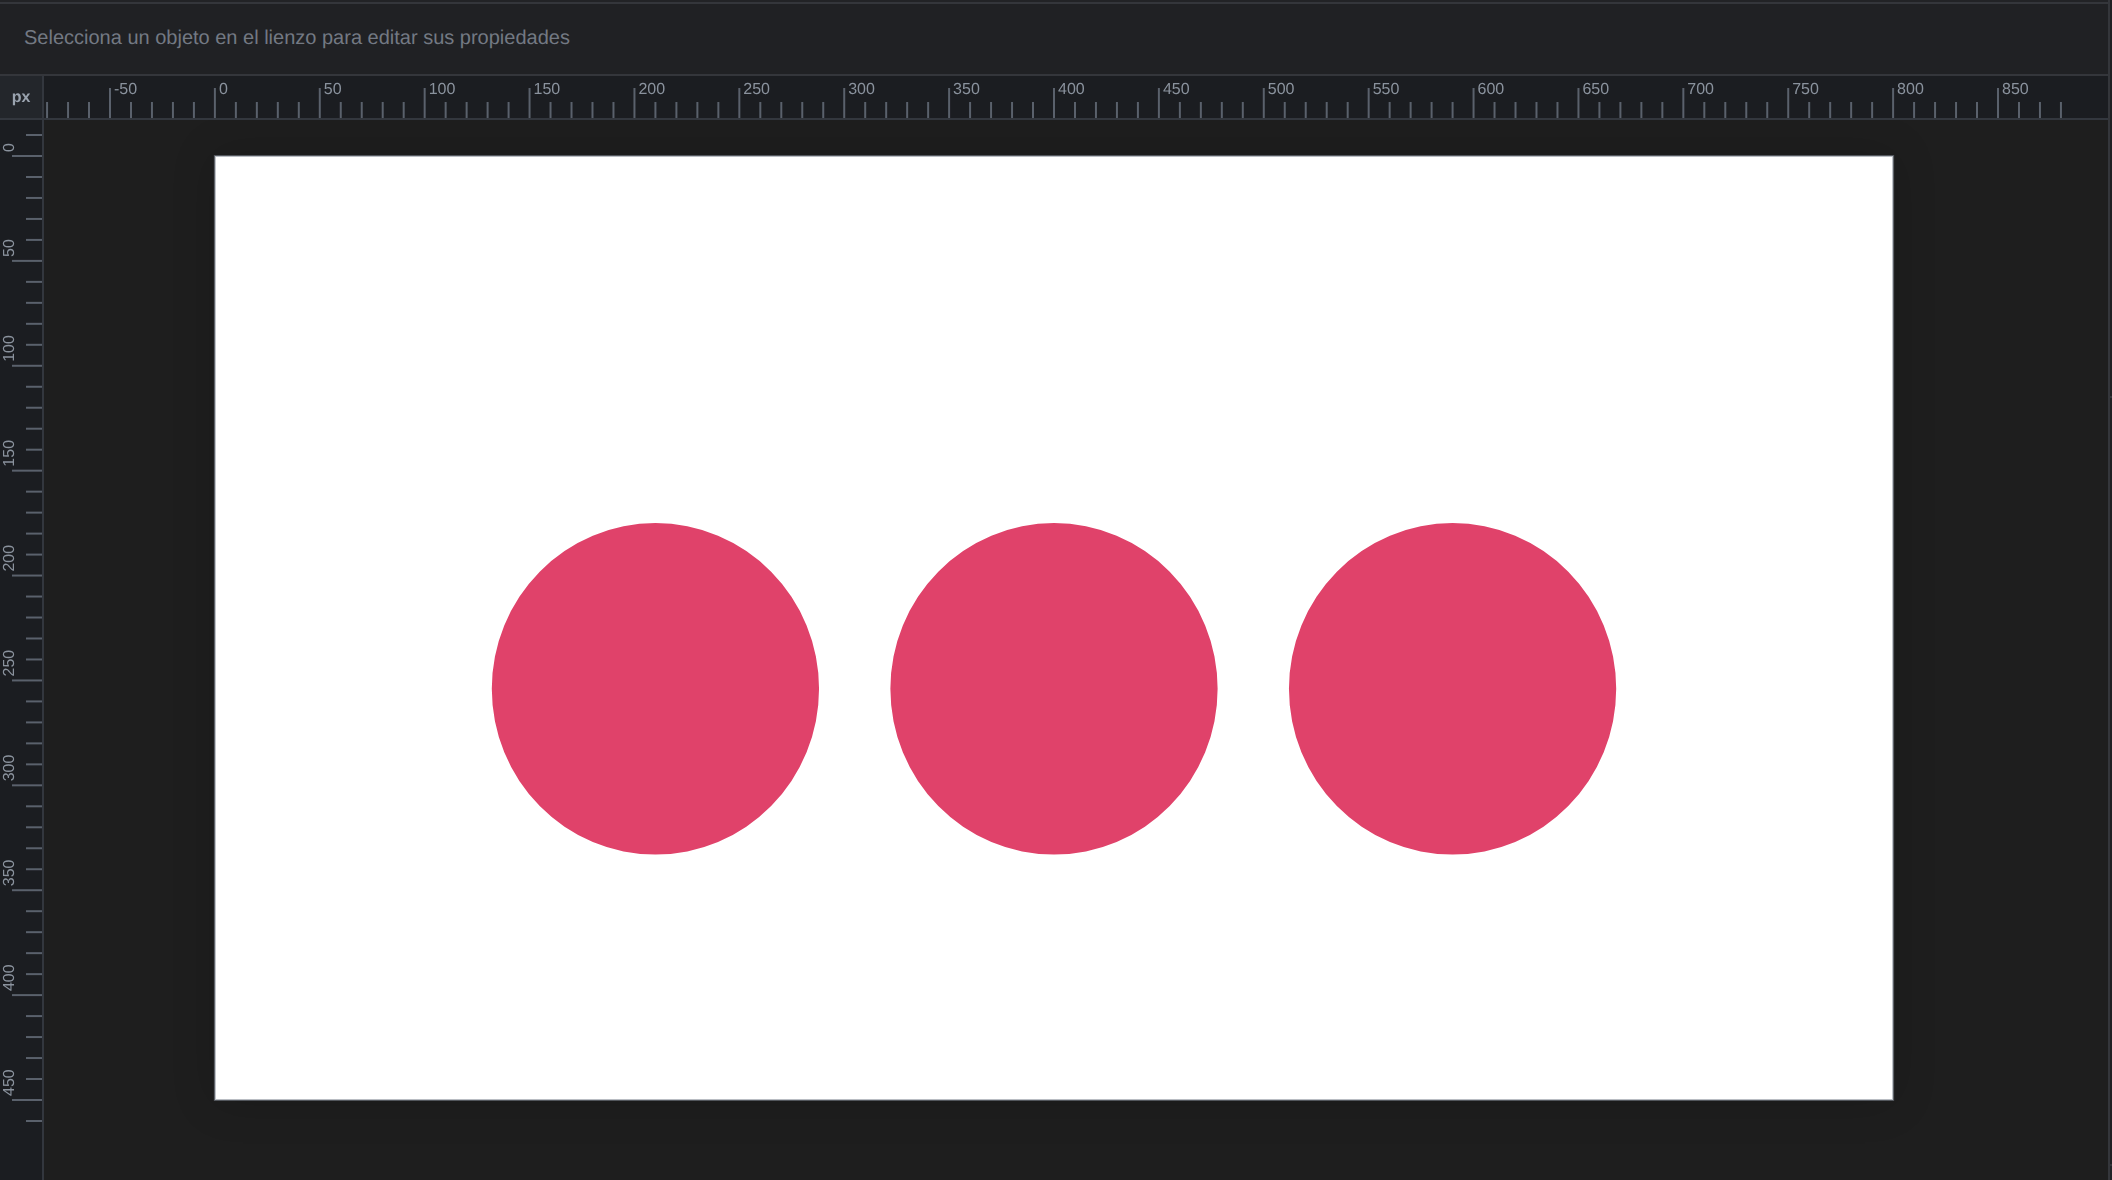 A pink band crossing the whole canvas, clipped by a three-circle mask. Only the color inside the circles shows.
Three details that will matter to you
1. The mask’s artwork is never painted. The mask only defines the window’s shape; its color never appears in the result. But while you have the mask layer selected it’s shown at 45% opacity, so you can see and edit what you’re carving instead of working blind.
2. You can paint the mask with the brush. You’re not limited to closed shapes: each brush stroke contributes its band to the visible area. That’s the natural way to build an irregular reveal, an ink effect, or a torn edge.
3. An empty mask clips nothing. If you create the layer before drawing anything, your art stays visible rather than vanishing. So adding the layer first doesn’t look like a bug.
And hiding the mask (the eye icon) brings everything back — the quickest way to compare before and after.
Three classic mask effects
Text filled with color. Content = a gradient or pattern. Mask = big text converted to shapes. Result: textured lettering.
Animated reveal (wipe). Content = your scene. Mask = a rectangle that grows left to right with keyframes. Result: the scene sweeps in.
Spotlight / vignette following a character. Content = the colored scene. Mask = an animated circle moving with the character. Everything else stays hidden.
Because the mask is a normal layer with keyframes, anything you can animate can be an animated mask. That’s where the real power is.
It works the same in the export
The clipping uses the same technique on screen and in the exported video, so what you see is exactly what lands in the MP4. No export surprises.
Limitation: text can’t be used as a mask yet (it would require extracting the font’s outlines). If you need masking text, draw it with the pen or convert it to shapes.
Next: rulers, guides and snapping to place your masks precisely.