
Rulers, Guides and Snapping: Put Everything Exactly Where It Belongs
Rulers with units, draggable guides, an optional grid, and snapping to guides/objects/grid in Brinimate — with the key to bypass it when it gets in the way.
LuisOA
Brinimate Team
Rulers, Guides and Snapping
Eyeballing alignment works until it doesn’t. These three features work together so placing things is exact without becoming tedious.
Rulers and guides (on by default)
Rulers sit above and to the left of the canvas, showing the real scale in project units.
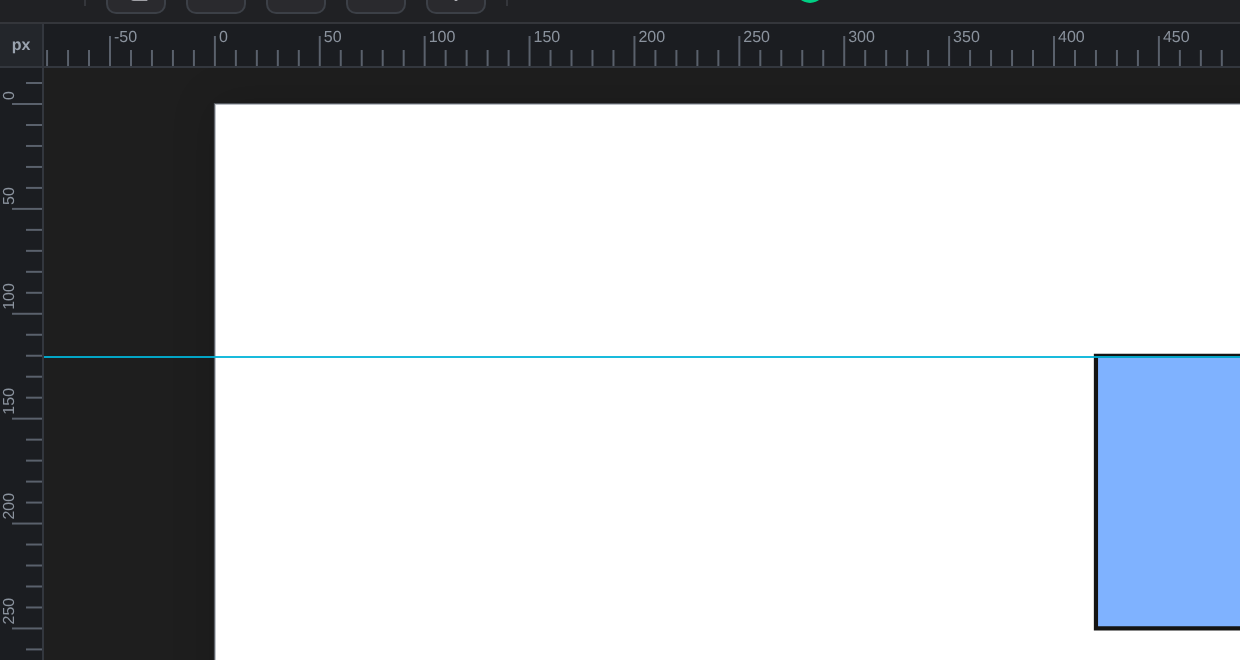 The rulers show real canvas position. The corner box switches units.
- Create a guide: drag from a ruler onto the canvas. The top ruler makes horizontal guides; the left one makes vertical guides.
- Move a guide: drag it.
- Delete a guide: drag it back onto its ruler (“Drop to delete” appears).
- Change units: click the corner box to cycle px, cm, mm and inches.
- Hide them: View → Hide rulers / Hide guides. Also Clear all guides.
Snapping
The Snap button in the bar above the canvas toggles it. When it’s on, whatever you drag looks for alignment with its surroundings.
It snaps to four things, in this priority order:
- Guides you created
- Other objects (their left/center/right and top/middle/bottom edges)
- The canvas (its edges and center)
- The grid, if you enable it
At equal distance the higher priority wins, so the grid never overrides your guide. And both edges and centers snap, which is what lets you center two objects against each other in one move.
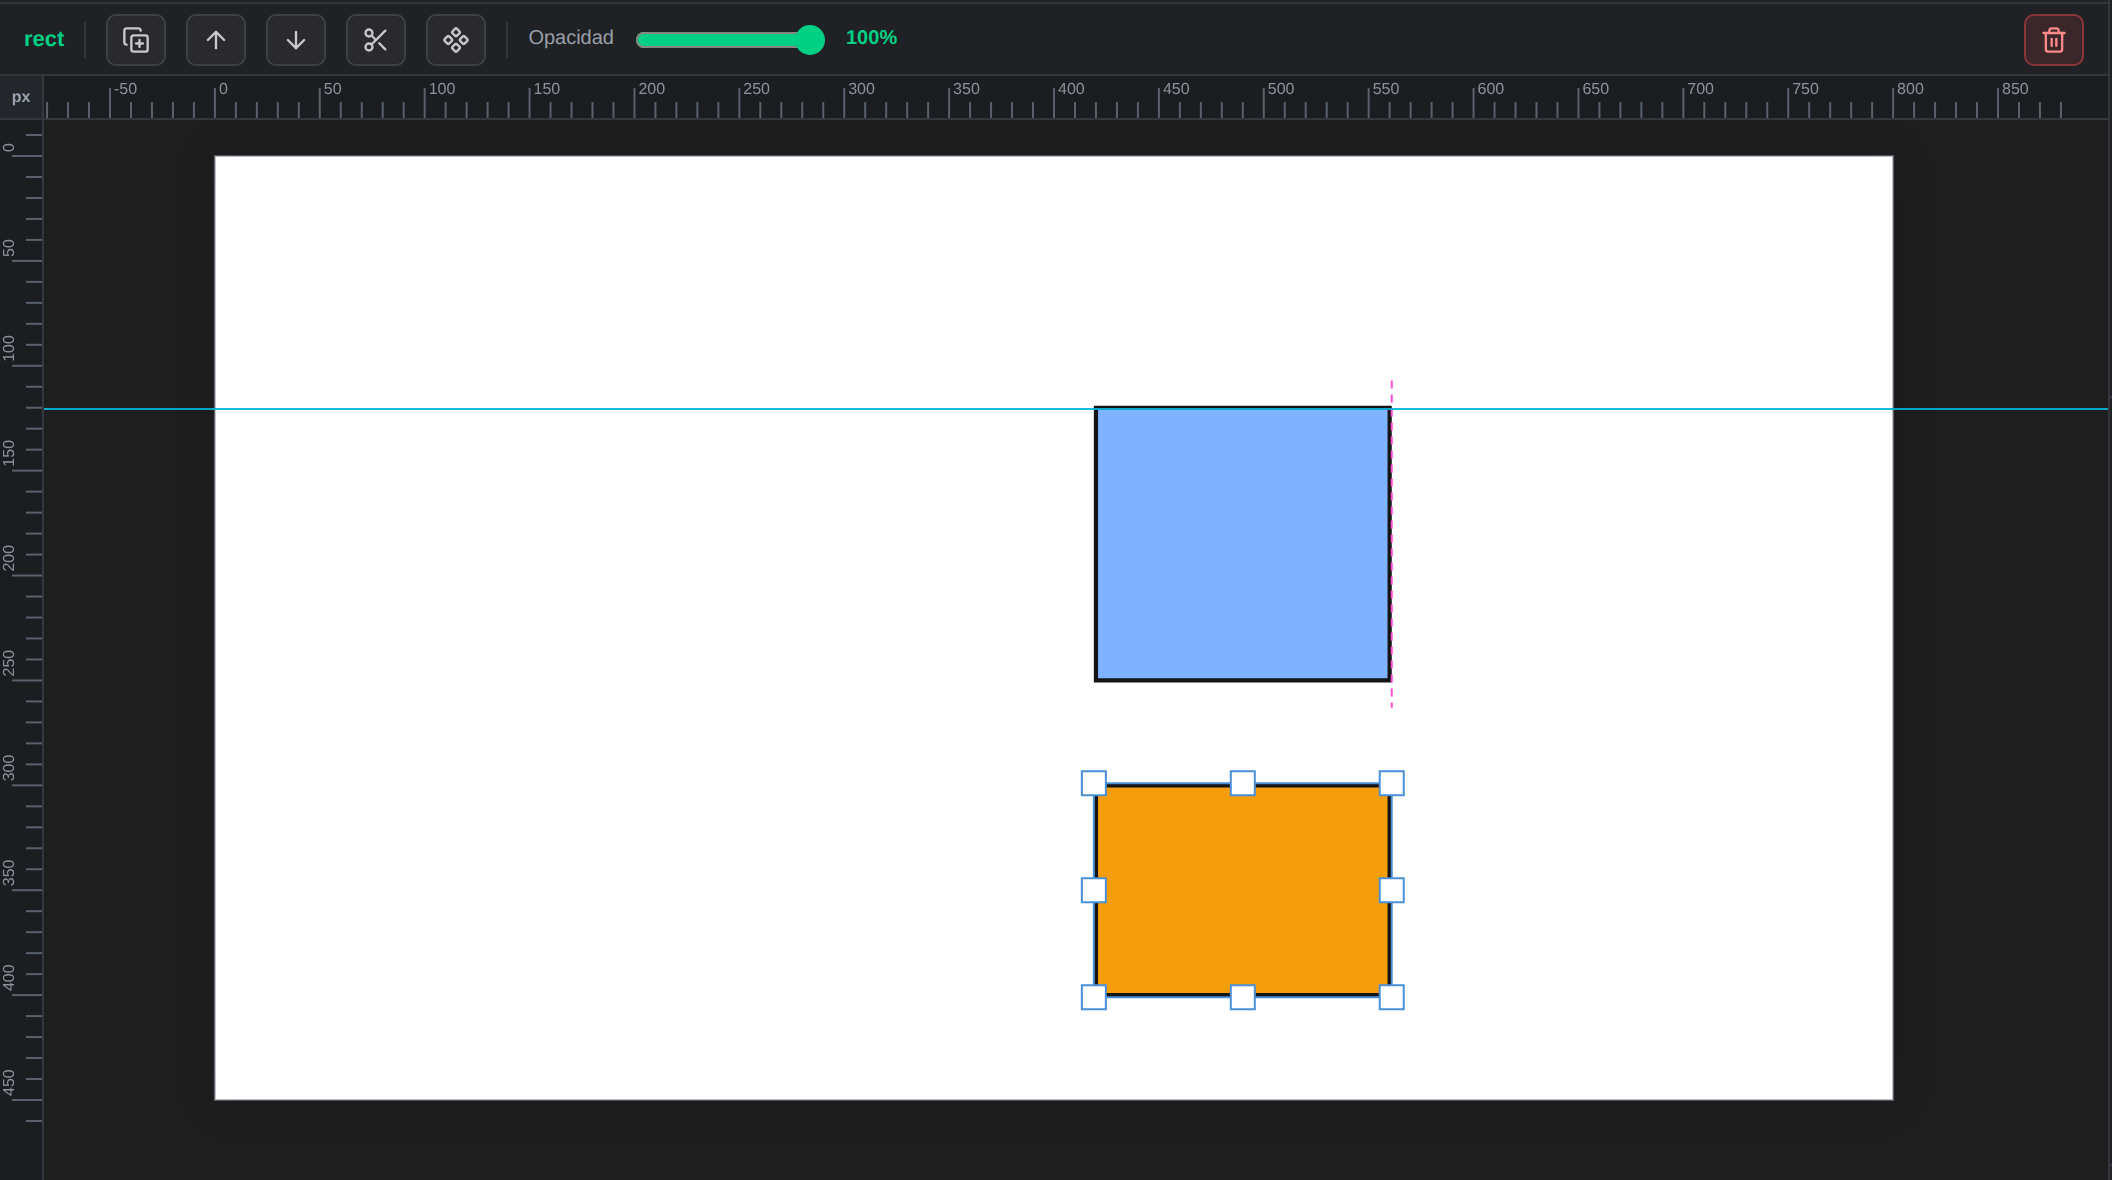 During a drag a dashed line shows what you’re aligning to. Magenta = another object, blue = guide, grey = grid.
The feedback is half the value
Without the dashed line, snapping feels like the canvas is sticking. With it, you understand why the object locked there. For object-to-object snaps the line is drawn only across the two boxes involved, so the screen doesn’t fill with lines.
When it gets in the way: hold Ctrl
Hold Ctrl (or Cmd) while dragging and snapping turns off for that gesture only. You don’t have to go switch anything off and back on — which is exactly when people forget and end up fighting the tool.
Grid
View → Show grid overlays a faint grid. In the snapping submenu you can enable · to grid so objects stick to it. The step is configurable (20 px by default).
Useful for: interfaces, pixel art, modular compositions, and anything where you want consistent visual rhythm.
A note on what exactly aligns
Snapping uses the object’s visible bounds, stroke width included — same as Figma and Illustrator. If a rectangle with a 2 px stroke snaps to a guide at 500, its X coordinate reads 501, but the edge you see touches the guide. That’s visually correct, even if the Inspector number surprises you at first.
Bonus: one-gesture dragging
It used to take a click to select and then a drag to move. Not anymore: press and drag and the object moves in a single motion, selecting itself along the way.
Access summary
| Action | Where |
|---|---|
| Toggle snapping | Snap button (bar above the canvas) |
| Snap to guides / objects / grid only | View → Snapping… |
| Bypass snapping momentarily | Hold Ctrl while dragging |
| Show or hide rulers, guides, grid | View menu |
| Clear all guides | View → Clear all guides |