Paint Bucket: Color Line Art Without Fighting the Gaps
How to use Brinimate's paint bucket: continuous gap closing, tolerance, and why the fill lands as an editable path instead of an awkward special object.
LuisOA
Brinimate Team
Paint Bucket (K): Coloring Without the Frustration
Coloring line art is THE 2D animation workflow, and also where most people give up. The classic problem: hand-drawn strokes never close perfectly, so when you click the bucket the color leaks and floods the whole canvas.
Brinimate handles this differently. Here’s how to use it.
The three controls that matter
Pick the bucket with K (or the bucket icon in the toolbar). Its options bar appears above the canvas:
| Control | What it does |
|---|---|
| Color swatch | The active fill color. Change it in the tools panel. |
| Close gaps | 0 to 12 px. How far the fill may “jump” to close openings in your line. |
| Tolerance | How similar a pixel must be to count as the same region. Raise it on artwork with gradients or heavy antialiasing. |
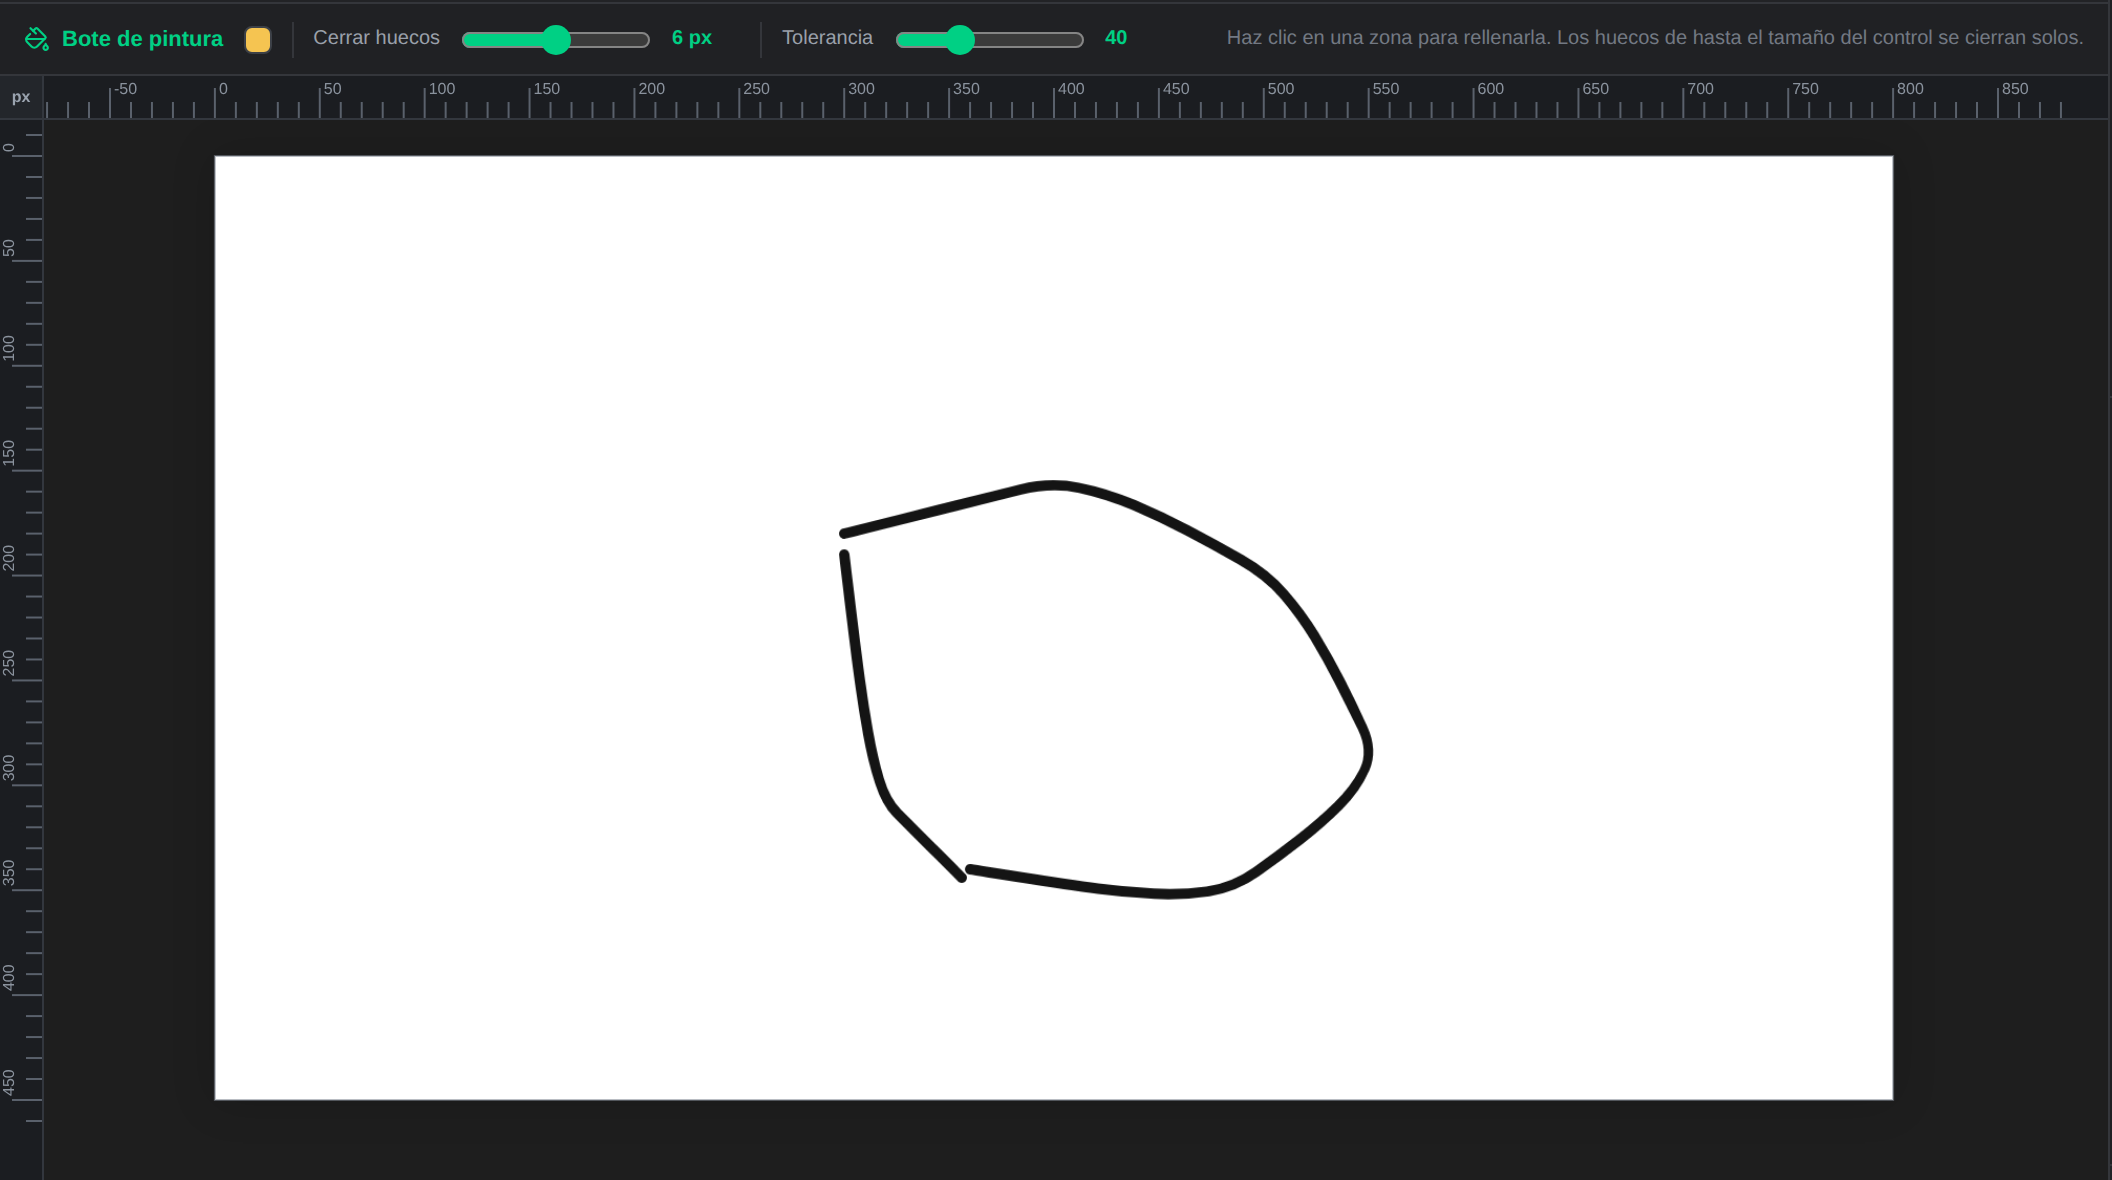 An outline drawn freehand in two strokes. Look at the top and bottom: there are gaps where the strokes don’t meet.
Step by step
- Draw your outline with the brush (B). Don’t worry about closing it perfectly.
- Press K.
- Pick the fill color in the tools panel.
- Raise Close gaps to 4-6 px if you drew loosely.
- Click inside the region you want to fill.
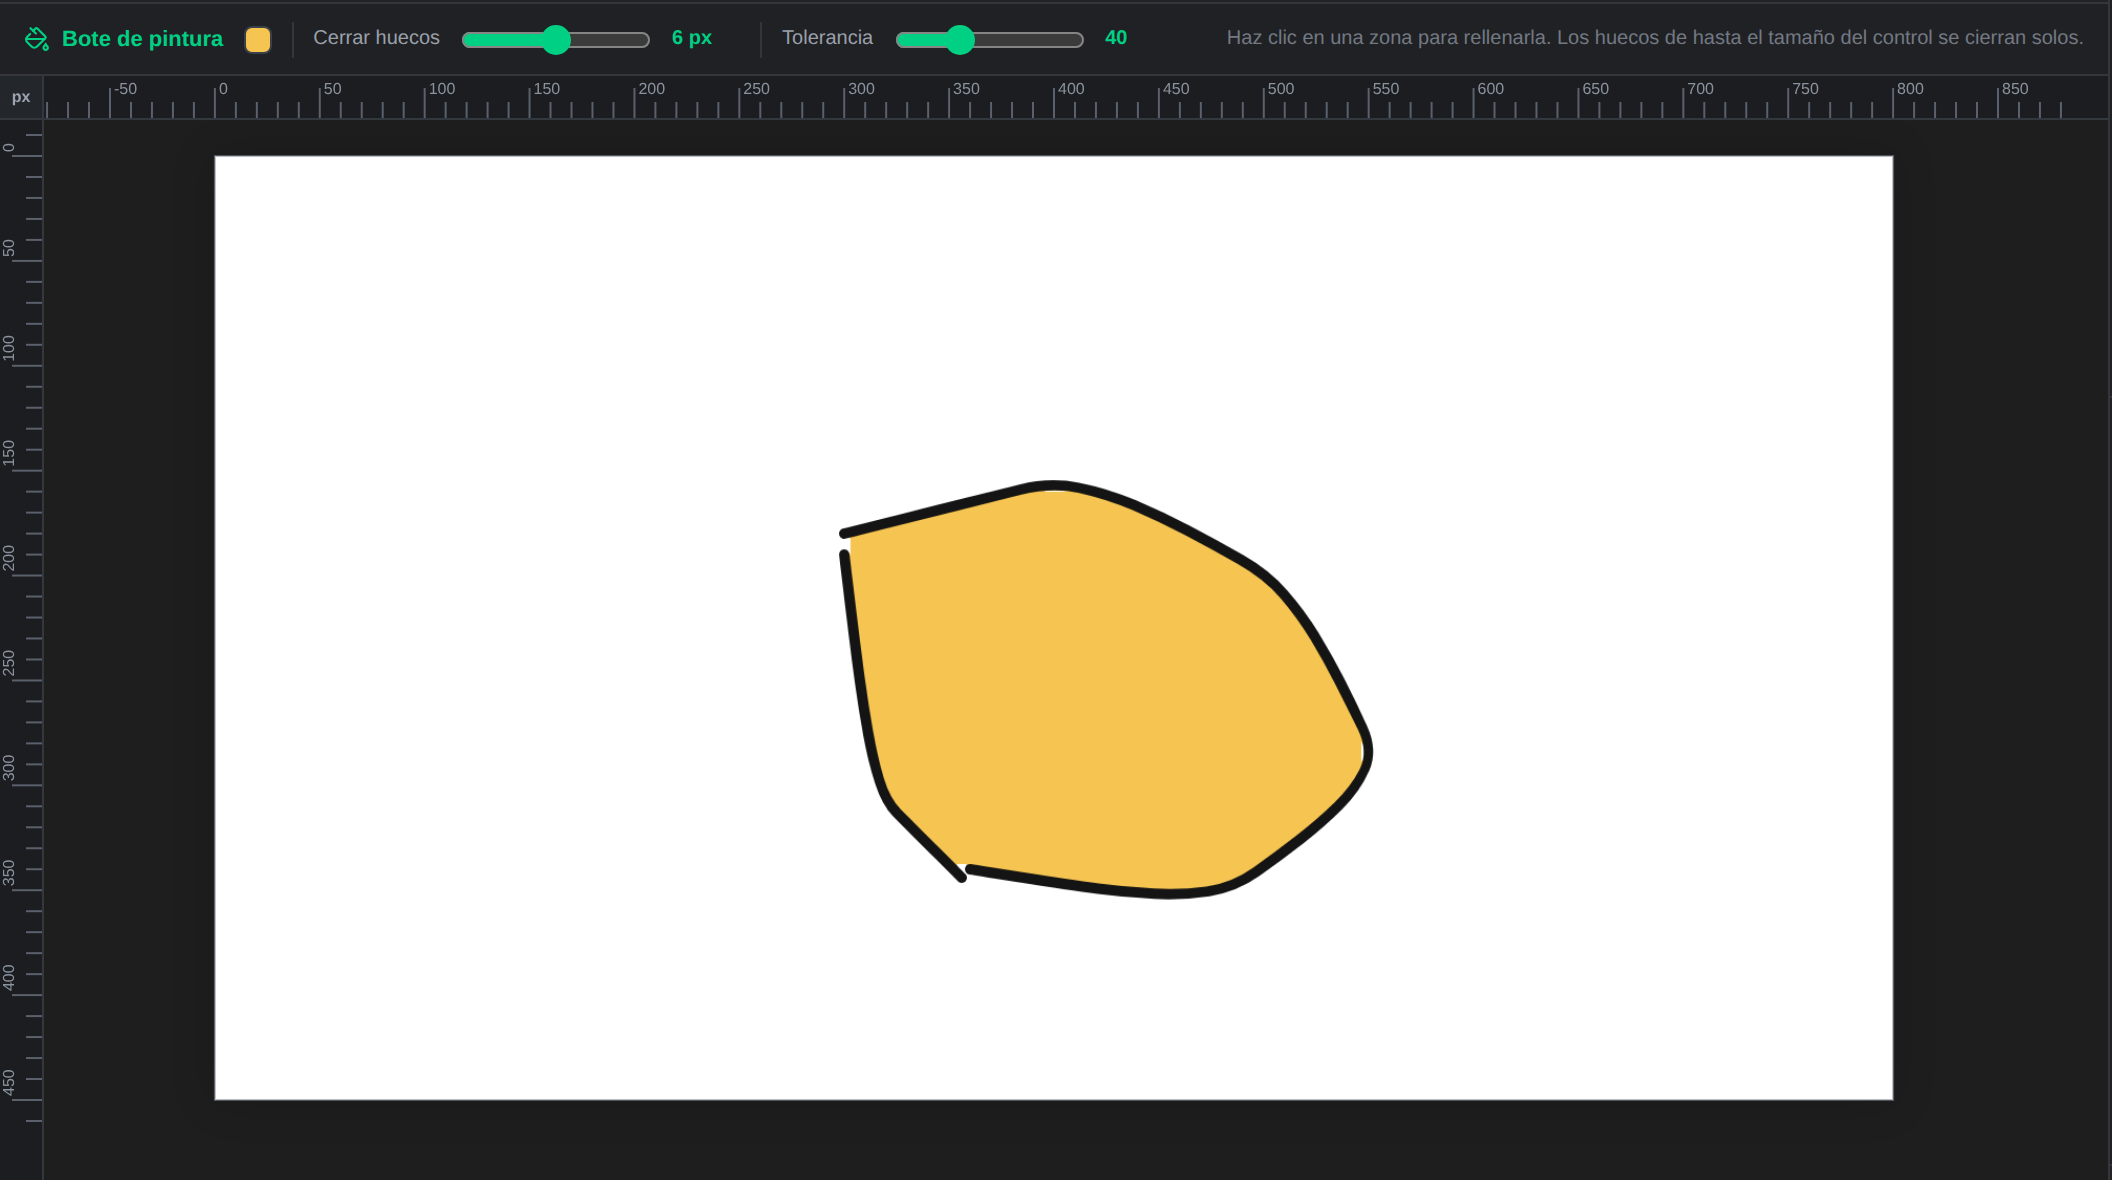 With “Close gaps” at 6 px, the fill respects the line even though the outline was never closed.
The continuous-slider trick. Adobe Animate gives you four fixed gap-closing levels and leaves you guessing which one works. Here it’s a continuous 0-12 px slider: if color leaks, nudge it up and click again. If it eats fine detail, nudge it down.
Why the fill behaves instead of getting in the way
Two design decisions you’ll notice immediately:
1. The fill is an editable path. It’s not a special object — it’s an svg-path like any other. Select it, move it, recolor it from the Inspector, animate it with keyframes; it exports like everything else. In Animate the bucket produces a “shape” object that then fights your lines. Not here.
2. The fill places itself where it belongs.
- Click on the background or on brush line art and the fill goes to the bottom of the layer, tucked 2 px under the ink. No white halo between color and line.
- Click inside a shape that already has an opaque fill (a rectangle, a pen shape) and the fill is inserted right above that shape. Sent to the bottom it would hide underneath and look like the bucket did nothing.
When something goes wrong
“I click and nothing happens.” You’re clicking exactly on a line. Click the interior gap, not the stroke.
“The color leaked everywhere.” The gap is bigger than your “Close gaps” value. Raise it (or close that bit of line with the brush) and Ctrl+Z to undo.
“It filled a bigger area than I wanted.” Lower the Tolerance: there’s a soft color transition the bucket is treating as one region.
On mobile
Exactly the same. The options bar sits under the toolbar and scrolls horizontally, so “Close gaps” and “Tolerance” are one tap away.
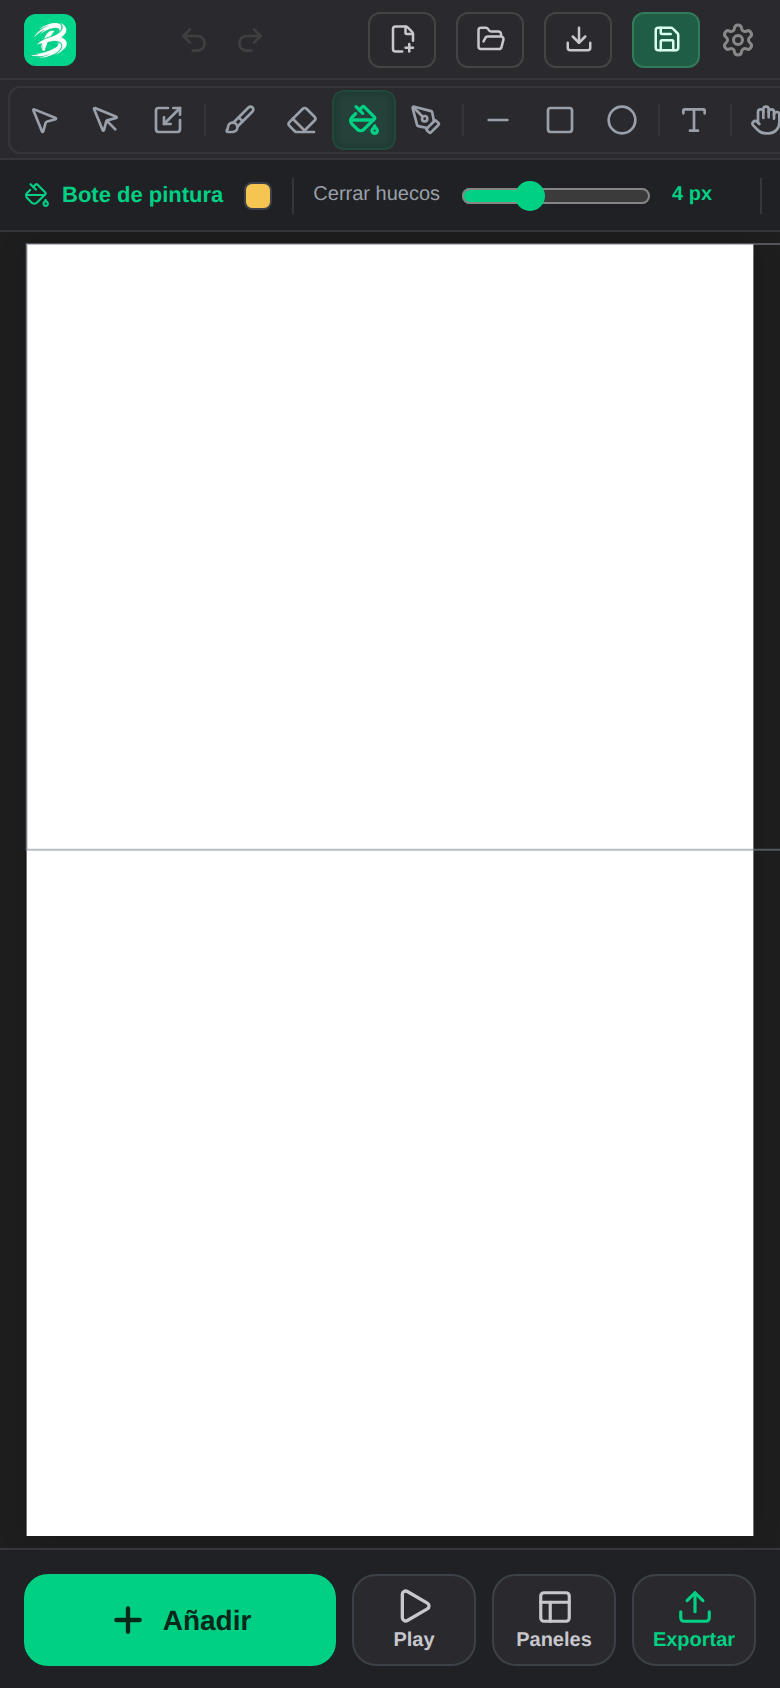 The bucket’s options bar on mobile, with the same controls as desktop.
Shortcut
K — Paint bucket. Ctrl+Z undoes the last fill.
Natural next step: learn to transform what you drew with rotation, scale and skew.